June 2010 is when I created my first (serious) blog, and boy did I love to share my updates on social media.
I remember logging into Twitter and Facebook whenever I had a spare moment so I could share my latest blog post for the day. As you can imagine, this got old quick.
Sure, I loved blogging but manually sharing my posts every day?
It was annoying. And time consuming.
I eventually found Buffer, and when I discovered all of its features, I couldn’t create an account fast enough.
Buffer is like your free social media assistant. It helps you easily share online content with your audience in less time. In this post, you’ll learn how to schedule social media posts with Buffer:
1. Create a Buffer account
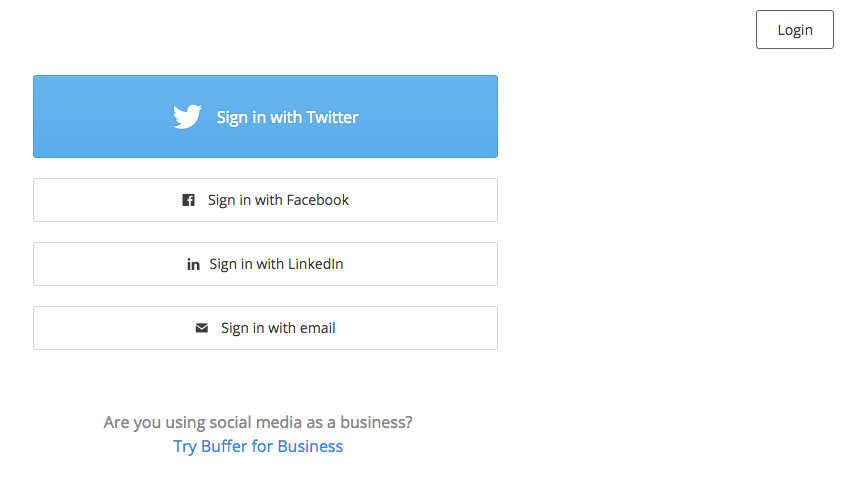
On Buffer’s homepage, you’ll see that there are different ways to create an account. Choose the method you prefer. If you own a business with multiple social media team members, you can create a business account.
Everything that I show you in this post can be done with a free Buffer account.
2. Connect your social media profiles
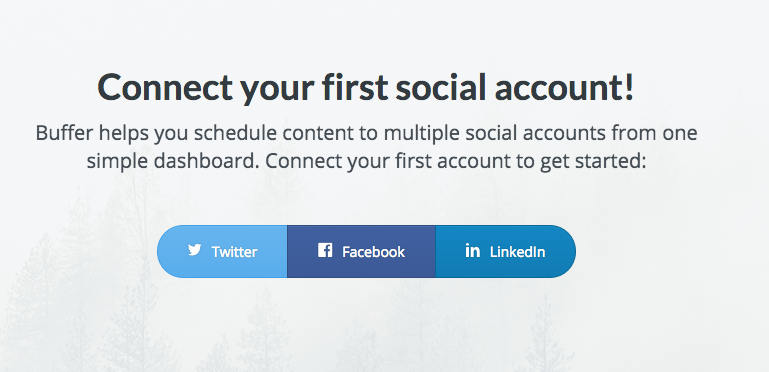
Next, choose one social media profile to connect to your Buffer account. Buffer then gives you the option to connect another profile. If you’re good with one social media profile for now, click Skip for now.
[Tweet “Wanna save time with social media? Try @Buffer. It’s free.”]
3. Confirm your timezone
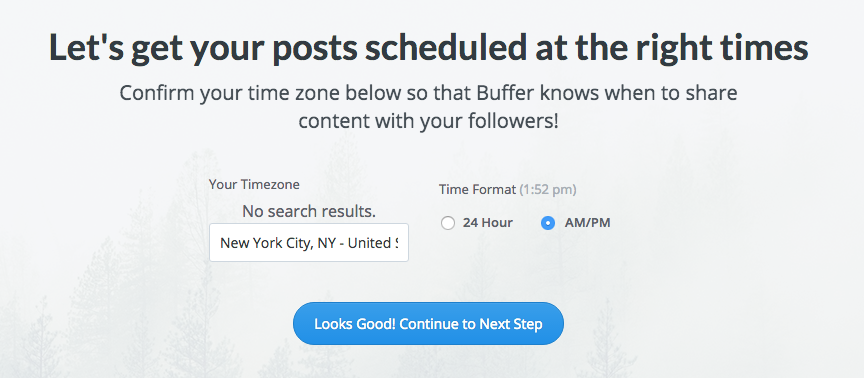
In the search bar, type the closest city with your time zone and click Continue to Next Step.
4. Choose a schedule
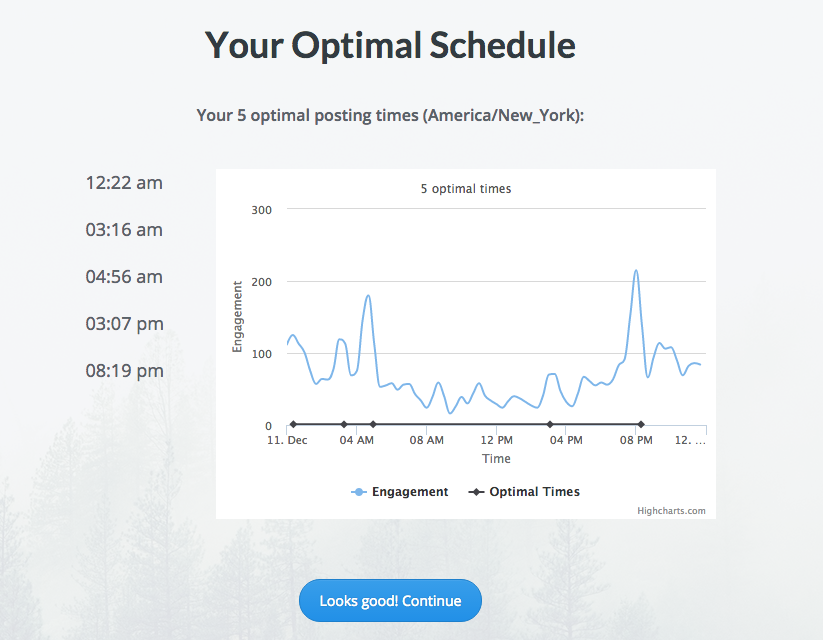
Buffer lets you choose the number of social media posts you want to publish per day and which times your updates will automatically post to your social media profiles. You can also allow Buffer create a schedule for you.
I recommend allowing Buffer to create a schedule for you if you’re not sure when your audience is most active throughout the day. For the example above, I chose an optimal schedule for my personal Facebook account.
The five times you see in the image above are when my Facebook friends are the most active, according to Buffer’s analytics. You can always change your timing schedule once you create your Buffer account, and I’ll show you how later in this post.
5. Confirm Link Tracking
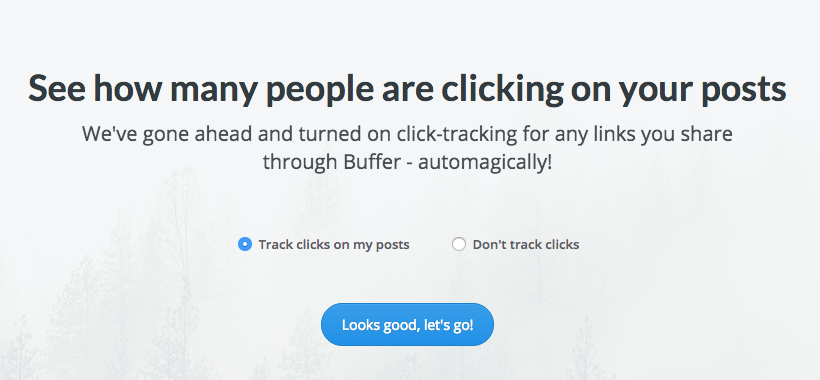
You’re not sharing your posts for your health, so you definitely want to track clicks to see how your audience responds to your posts. After you’re good to go, your Dashboard is ready. Click Go to my Dashboard.
6. Install the Buffer Extension
The Buffer Extension allows you to easily schedule your content, and other articles from around the web, right from your web browser (e.g., Firefox, Google Chrome, Internet Explorer, Safari).
Click Install the Extension. Then click Add Extension.
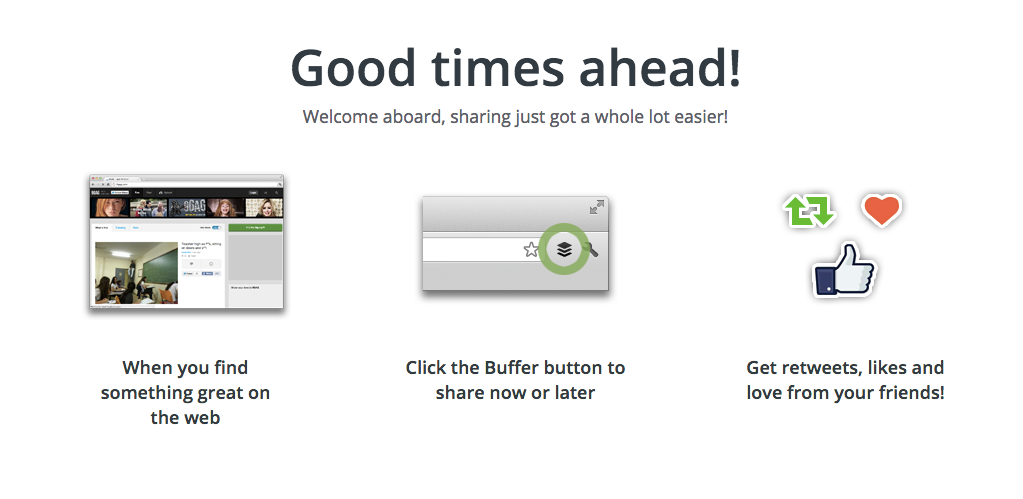
After the extension is installed, you’ll notice the Buffer icon in the top right hand corner of your browser, as circled in the image above.
When you click this icon, Buffer automatically collects the article’s title, link, and images, as you can see in the image below. Click the social accounts you want the article to post to (for ex. LinkedIn and Twitter highlighted below). Then click Add to Queue, and you’re done!
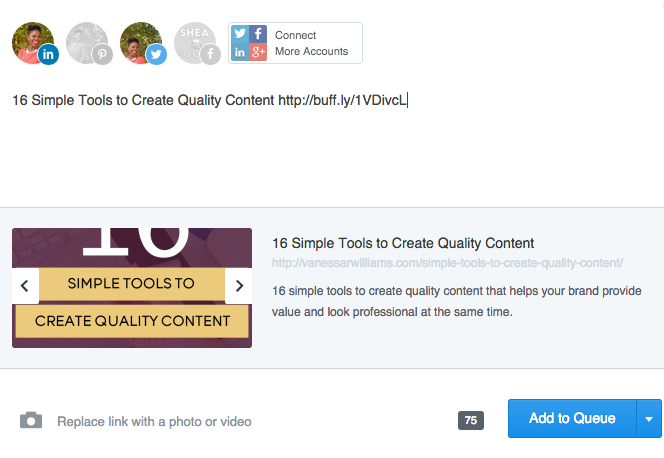
TIP: When scheduling posts with Buffer, keep two internet browsers open — one to buffer posts with the Extension and the other to view the posts in your Queue.
Keep in mind that with the free account, you can only have up to 10 posts in your Queue at a time. I stepped up my post game and upgraded to the Awesome Plan (100 posts).
7. Get friendly with your Dashboard
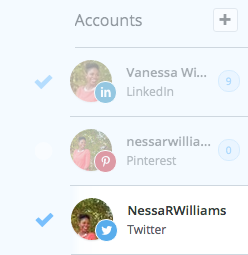
From your Buffer Dashboard, to the left of your screen, you’ll see where you can add more social profiles whenever you want. Pinterest doesn’t come with the free Buffer account; however, Buffer gives you a free, 30-day trial to try it out.
To the right of your accounts, you’ll see tabs labeled Content, Analytics, Schedule, and Settings (shown below). Here’s what you can do in each tab:
Content
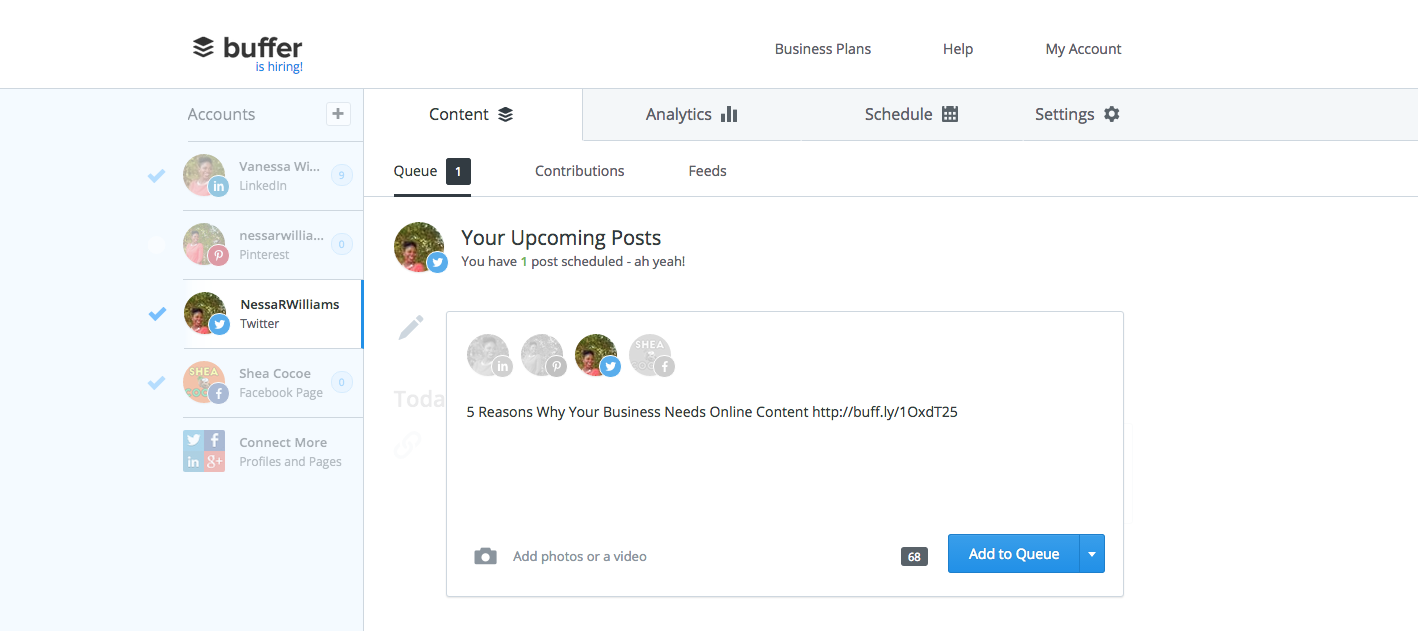
For whatever reason, if you’re not a fan of the Buffer Extension, this is where you can manually enter the title and link of your post. You can also add a photo or video. Posts with photos typically receive more likes and shares.
TIP: Before a new week begins, spend an hour scheduling your posts for the entire week so you don’t have to worry about keeping up with your Queue on a daily basis. You can also download the Buffer app to schedule posts on your phone while you’re on the go.
Analytics
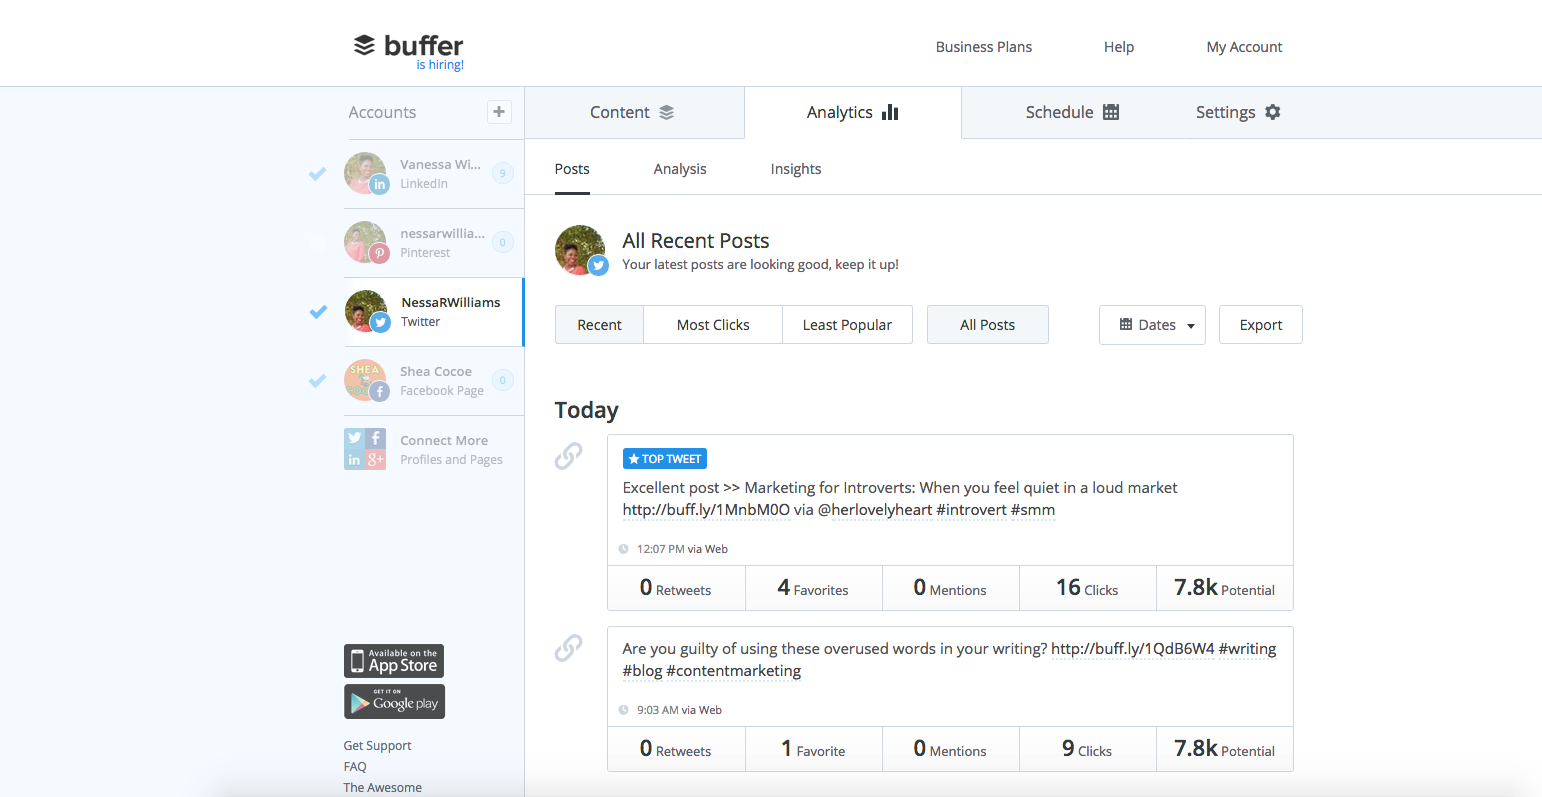
After Buffer shares your posts, it tracks your audience’s engagement for each post. For example, if you have a Twitter account, you can view analytics for the most and least popular retweets, favorites, replies, and more.
Knowing how well your content performs is important because it let’s you know content your audience likes and content they don’t care for. The more you learn your audience’s interests, the less time you waste creating and sharing content they couldn’t care less about.
TIP: Re-buffer posts with high engagement. In the Analytics tab, hover over the lower, right-hand corner of a post and click Re-buffer this post. Then click Add to Queue. When you do this, your post is automatically added to the Content Queue to post again at the next scheduled time.
Schedule
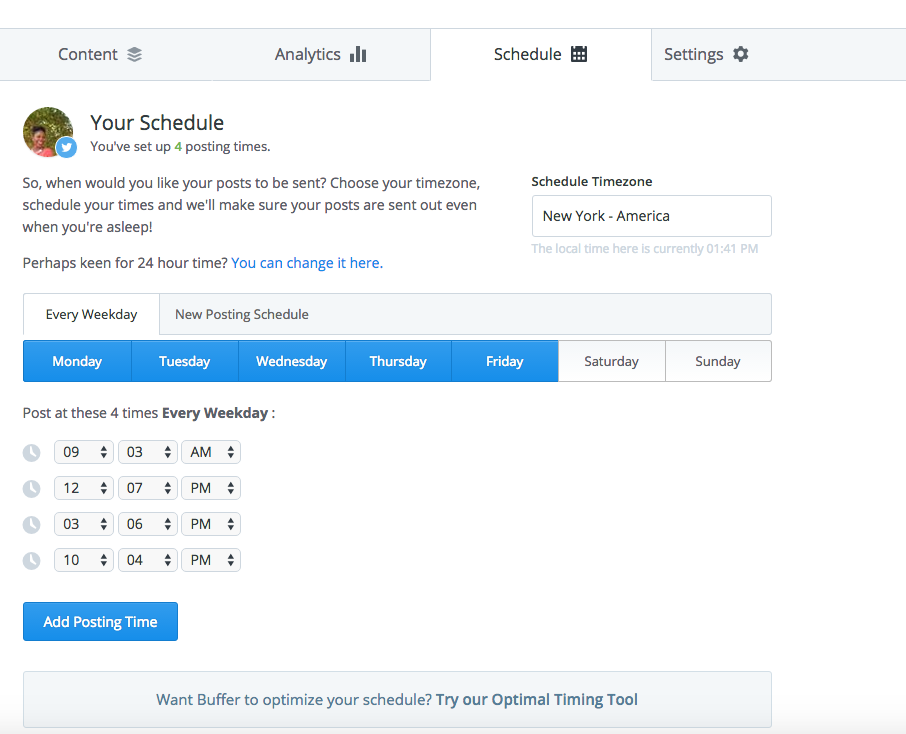
By this point in the process, you already have a set schedule. With the free Buffer plan, you can only create one schedule. Days that are are highlighted in blue are days when Buffer will publish your posts to your social media profiles.
TIP: Experiment with the times and days you post. At one point, I didn’t schedule any posts for after 6:00 PM, but I learned there are still plenty of night owls reading blogs and watching videos during late night hours.
Settings
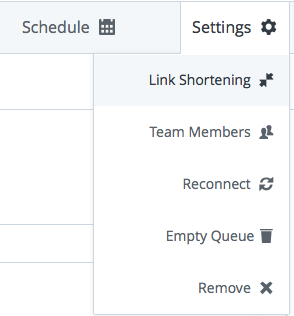
Link Shortening: Buffer defaults to using their link shortener (buff.ly), but they have additional options you can choose, like bit.ly, as well.
Team Members: This feature isn’t available for the free Buffer account. With the business account, however, you can add team members to help schedule posts.
Reconnect: Refreshes Buffer’s connections to your social media profiles if your posts fail to publish.
Empty Queue: Removes all of your scheduled content in your Queue.
Remove: Deletes the selected social media profile from buffer
Recap
- Buffer is a free and easy tool that helps you schedule your social media posts frequently.
- Pay attention to your analytics so you can spend more time creating and sharing content that meets your audience’s interests and needs.
- If you outgrow the free account, you can always upgrade to one of the business accounts.
[Tweet “I just learned how to schedule social media posts with @Buffer!”]
Your turn!
How do you share your social media posts?
Whenever you feel like it? With a tool like Buffer?
Let me know in a comment below.


I love it, but my main social media platform seems to be missing. Do they work with Instagram?
Robyn-Ann, Buffer doesn’t offer scheduling for Instagram. Try https://wisel.it/ to schedule your Instagram posts.
This will be SUPER helpful for both my brand and managing my job’s social media content. Thanks for sharing! Great post.
No problem, LaNeshe. Let me know how it goes.
I use Buffer and cannot sing it’s praises enough ! Another great post
Thanks for reading, Nathaniel!